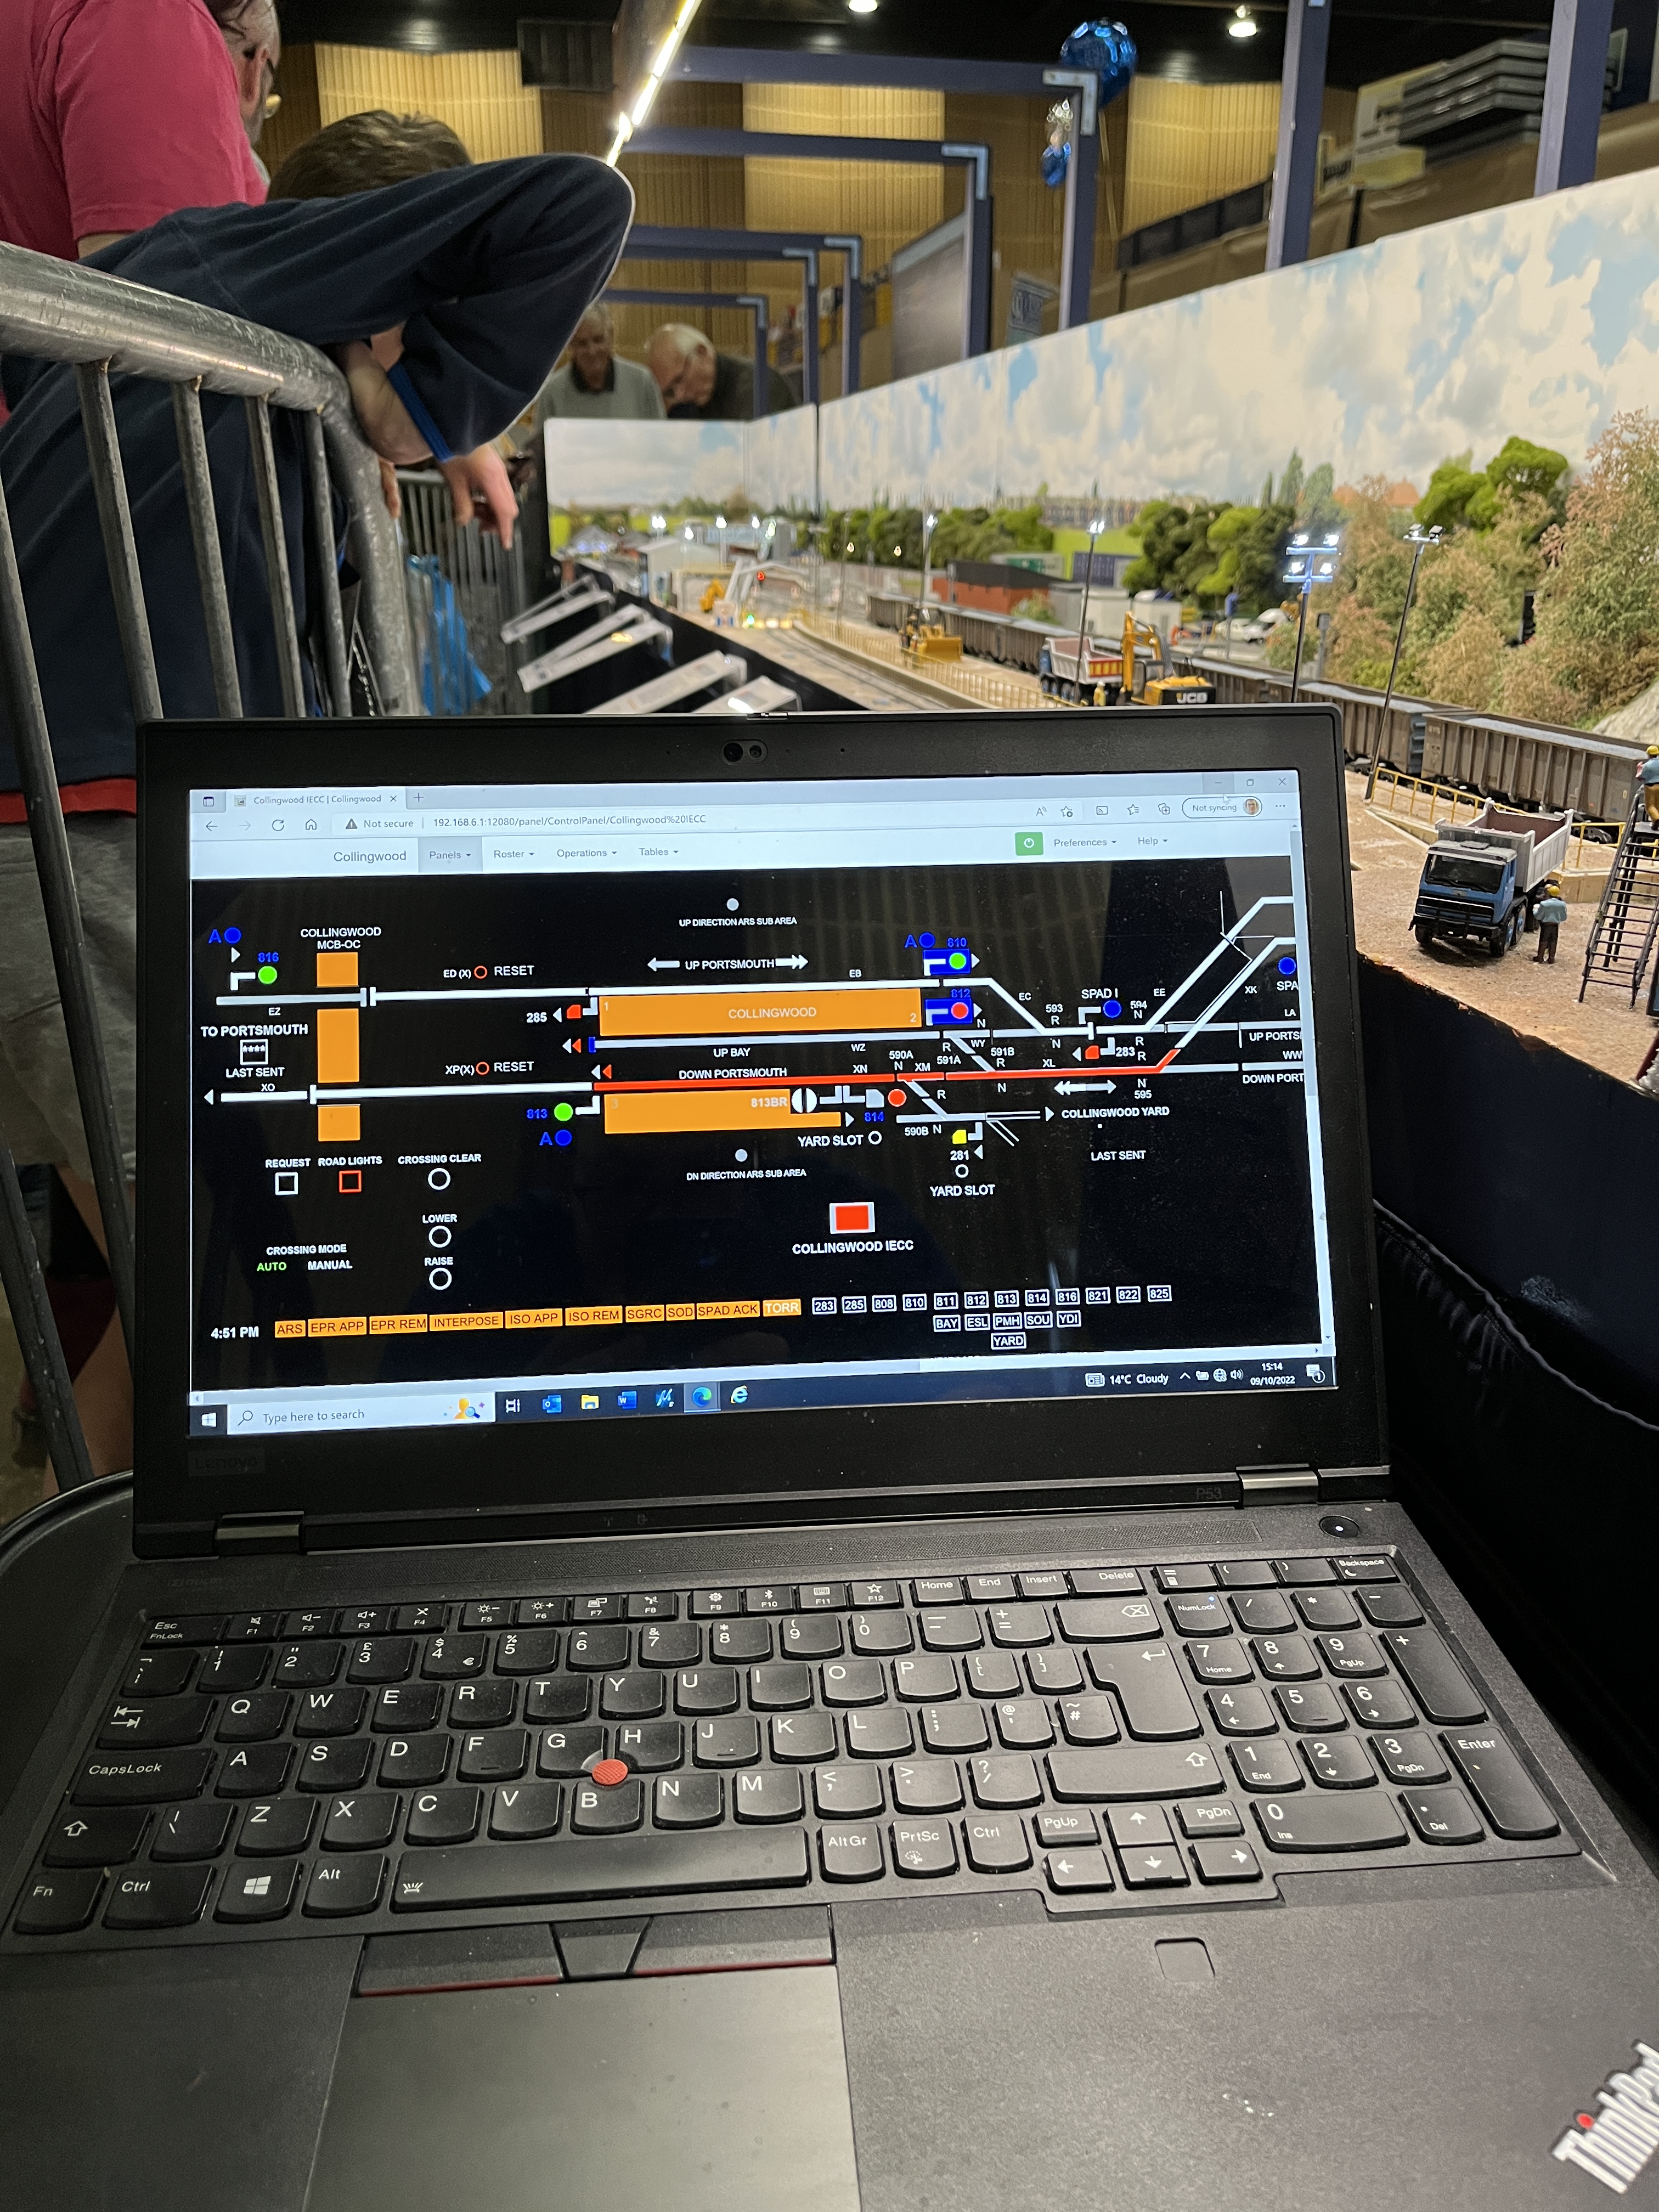
Having defined what an interlocking is in the last post, we can now start to look at how the interlocking logic works, but first we need to understand a couple of initial basics that form the interlocking.
For route relay, solid state or computer-based interlockings, there are three ‘levels’ to an interlocking. These are the ‘route setting’ level, ‘aspect control’ level and ‘route release’ level. Most signal engineers will only talk about the ‘route’ and ‘aspect’ level, but I find it easier to understand if the route release logic is regarded as a separate level.
These ‘levels’ are only used to define what checks are made at each point in the interlocking process, the most basic of checks for each level is:
- ‘Route Setting’ Level – This is where checks are made to ensures that points are set in, or are free to move to, the correct position for the route as well as that any opposing routes are not set and that there is no train within that route. This also applies the sectional route locking, explained later
- ‘Aspect Control’ Level – This checks that the exit signal is lit, the points within the route are set locked and detected in the required position, all the track circuits in the route / overlap are clear and determines the aspect to be shown for the correct aspect sequence. It also deals with AWS and TPWS outputs as well as the signal ‘stick’ function, again explained later.
- ‘Route Release’ Level – This check that when a signaller requests that a route is cancelled, assuming the signal has cleared, whether a train was on approach to the signal, has come to stand prior to the signal or has entered the route safely before releasing the route.
Within these levels, it could be said that the interlocking is split into multiple different sub-processes, which for the purposes of Collingwood are:
- Push Button Interlocking
- Route Calling
- Point Calling
- Route Locking
- Aspect Controls
- Route Release
- Indications
- Level Crossing Controls
- Axle Counter Controls.

